There are 4 main methods to ensure correct installation
Staple Gun
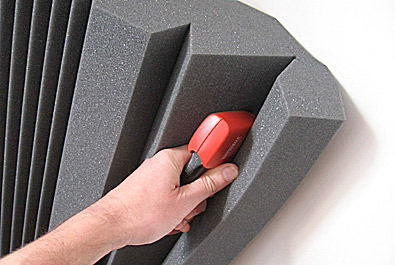
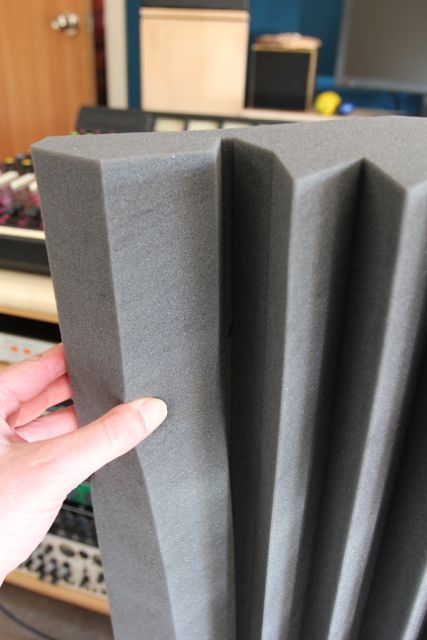
SoundAcoustics studio panels feature the patented “Staple T” staple gun channel for hidden stapling. No other acoustic panel on the market has this design innovation. This is allows for quick and simple installation on to plasterboard (gyprock) or any surface that will adequately hold a staple. A inexpensive staple gun can be bought from the large hardware chains for around $20. A better quality staple gun can be bought for around $50 (Rapid brand). Use 10mm staples and push the staple gun firmly into the staple channel compressing the foam and pull the trigger. Generally three staples per channel will hold the panels securely. The staple gun channels can also be used for other fasteners such as plaster nails, screws, pins etc.
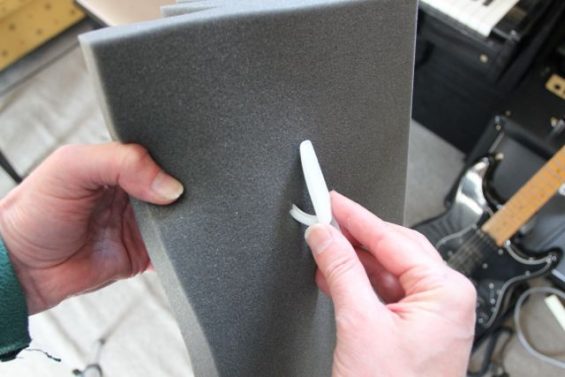
Removable Hooks
3M Command removable hook are a convenient way to install SoundAcoustics panels, as the ‘Staple T’ fixing channel makes this very simple. By making a small hole in the fixing channel the hook can then be inserted. We recommend at least 3 hooks per channel.
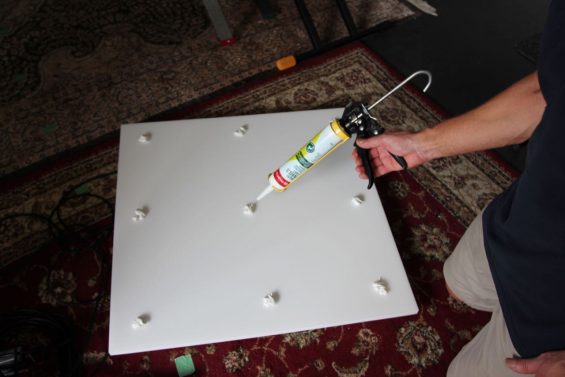
Adhesive
Panels can be installed using water based builders adhesive such as Selleys water based Liquid Nails. Run a bead of adhesive around the perimeter of the panel approximately 40cm from the edge. When installing the ceiling panels use either water based builders adhesive or silicone. Put 9 dobs (about 20 cent size) around the perimeter of the panels and then fix straight to the ceiling.
Fixing panels to 3mm MDF
Fixing panels to 3mm MDF and then fixing to the wall using 3M Command picture hanging strips is another way panels can be fixed to the wall. Bunnings pre – cut 3mm MDF in the convenient size of 600 x 1200mm, which is perfect for fixing two panels per sheet. Panels can be glued or stapled to the MDF (use 6mm staples).